Tips for Choosing the Best Photo for Your BrickPicFun Mosaic
Some photos simply work better for brick mosaics — and our quick tips will help you pick the best one. A great mosaic starts with a great photo.
1. Zoom In on Faces for Best Portraits
Zoom in so the face fills the photo. The more space it takes, the clearer and more detailed your mosaic will be.
The closer the face, the better the mosaic will look! When the face fills more of the photo, it gets more bricks — meaning more detail and a clearer final result.
At the Crop/Zoom step, try to crop and zoom your photo so that the face (or faces) fill as much of the mosaic area as possible. The more space the face takes up, the more detail we can capture in the mosaic, making the final picture look sharp and recognisable.

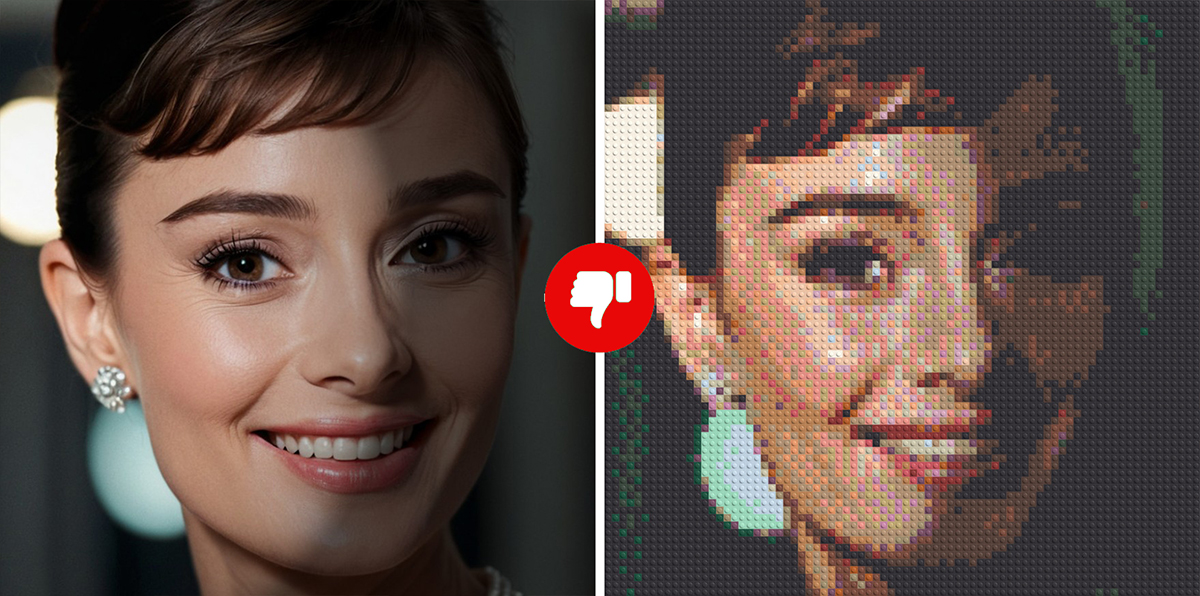
2. Light from the Front is Best
Light the face evenly from the front to capture all the details clearly.
For the best result, make sure the face is evenly lit with the light source in front. Shadows can hide important details and make the mosaic less clear. Good, even lighting helps bring out all the features and gives you a bright, sharp, and recognisable mosaic!

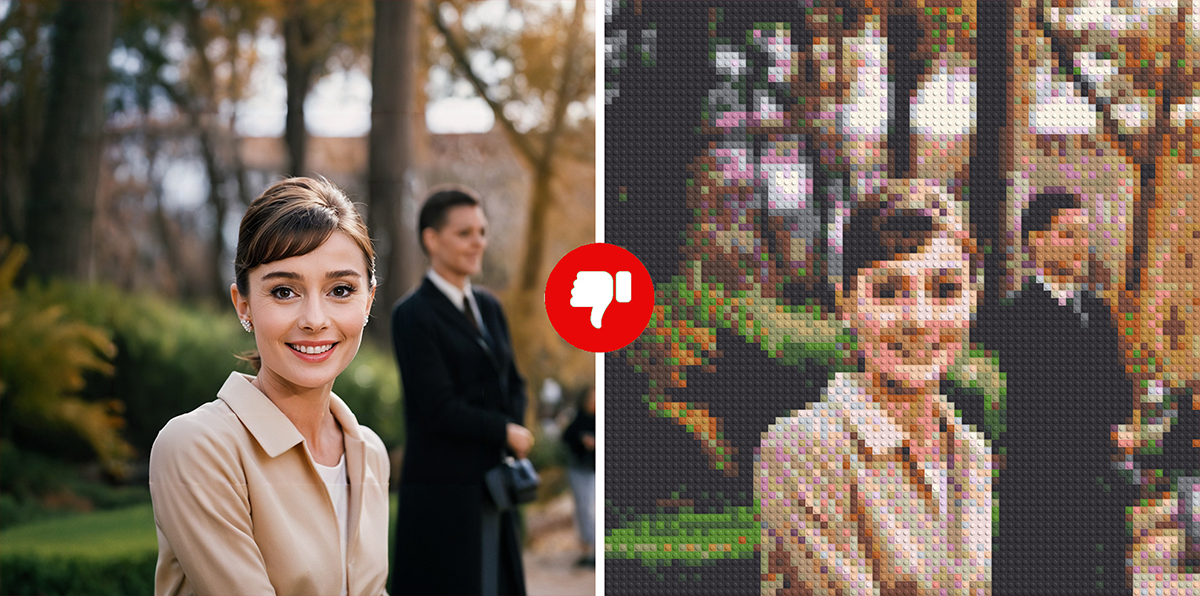
3. Keep Faces Close Together
Closer faces mean more clarity in your mosaic
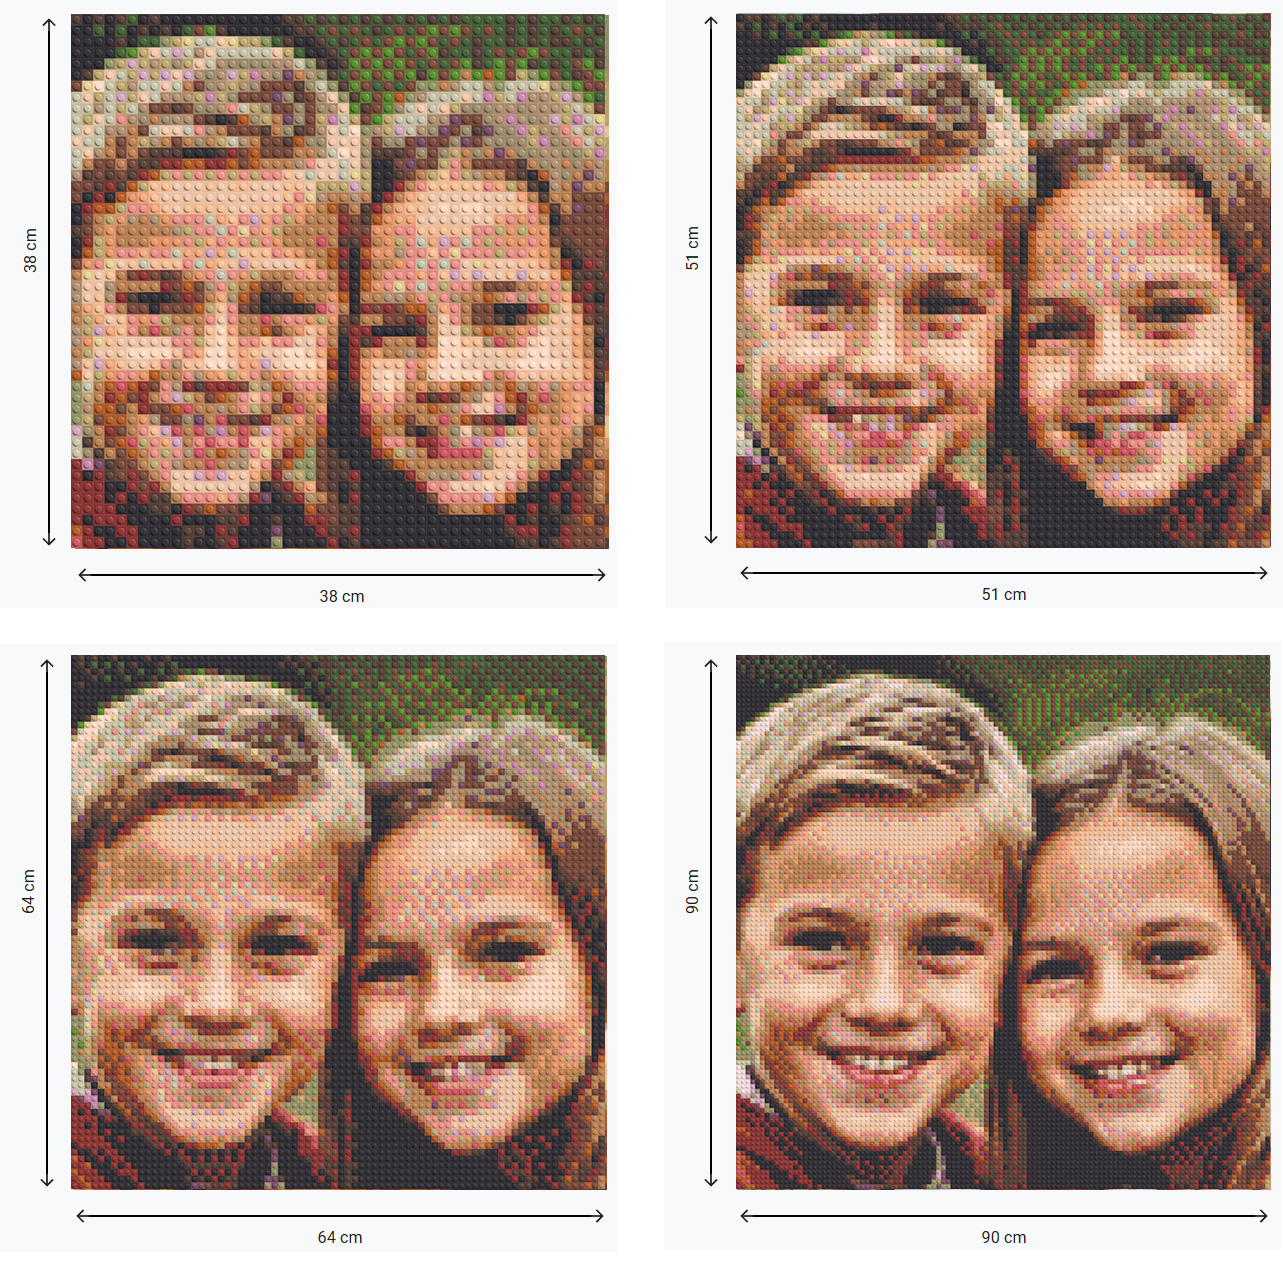
When there are multiple people in your photo, try to pick one where their faces are close together. This way, each face gets more bricks, keeping the details clear and recognisable.


4. More Faces = Larger Mosaic Size
More faces need a larger mosaic for clear details.
The more faces you have in your photo, the larger the mosaic should be to keep everyone’s features sharp and clear. A bigger mosaic means more bricks for each face, making sure every detail is captured beautifully.
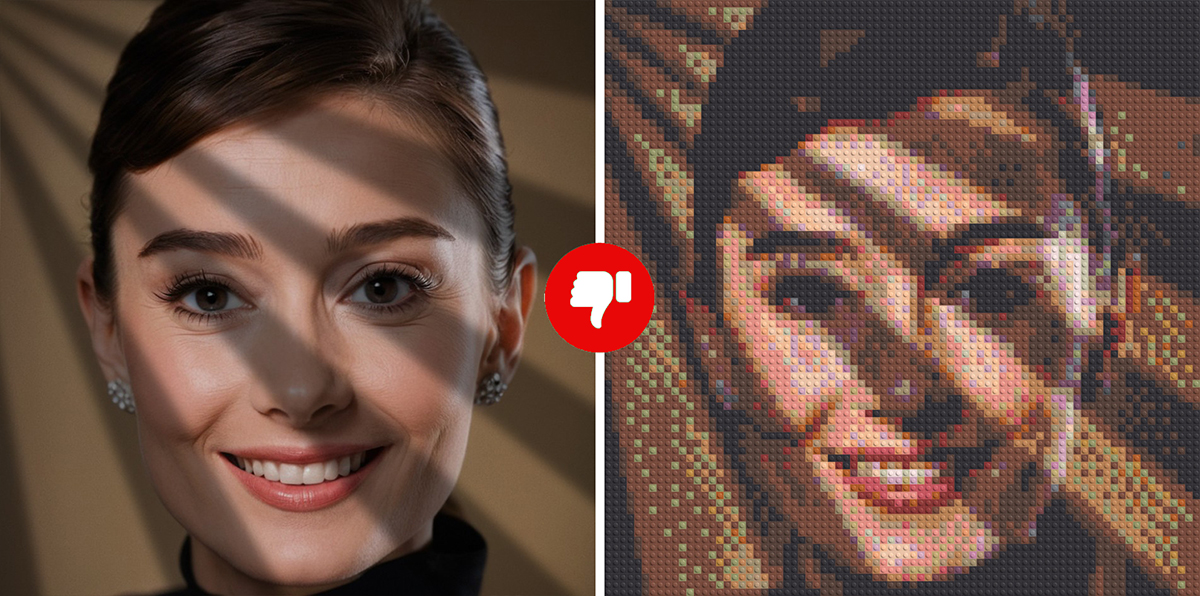
5. Avoid Shadows on Faces
Clear, shadow-free faces make your mosaic look its best.
Shadows on faces, like from hats or poor lighting, don’t translate well in the mosaic and can hide important details. Try to choose photos where faces are bright, evenly lit, and free of dark areas for a clearer, better-looking result.